Warbird Information Exchange
http://warbirdinformationexchange.org/phpBB3/

F-86 Panels and Parts Restoration
http://warbirdinformationexchange.org/phpBB3/viewtopic.php?f=26&t=45690
Page 1 of 9

Author:  cadet77 [ Sun May 20, 2012 4:52 pm ]
Post subject:  F-86 Panels and Parts Restoration

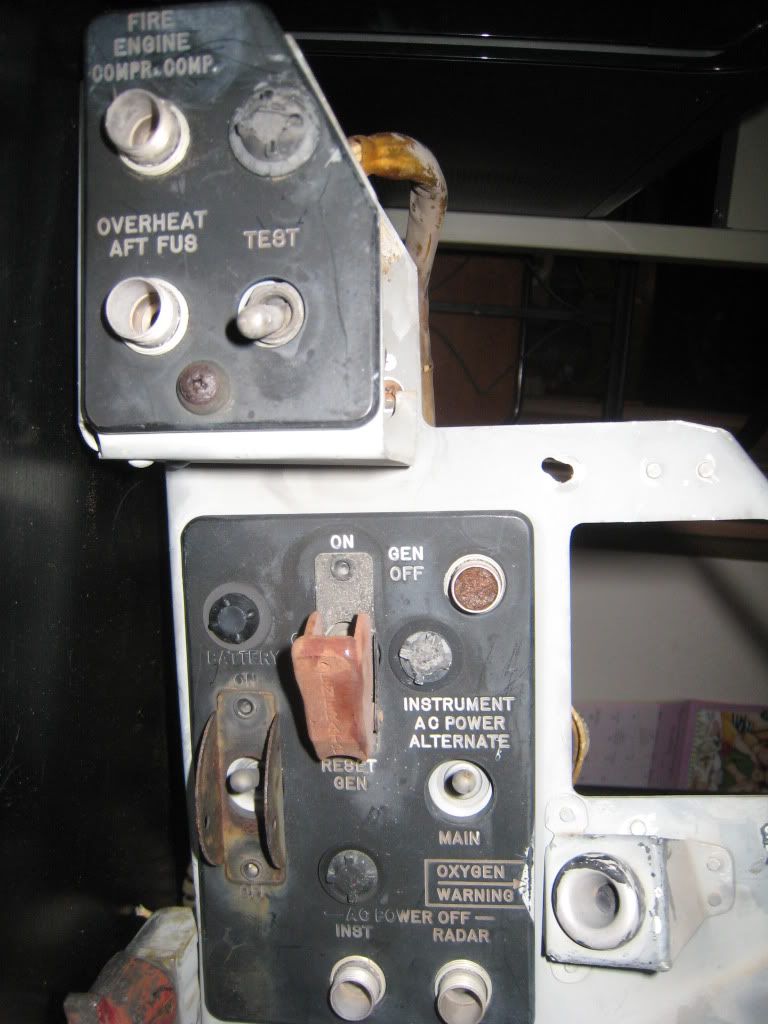
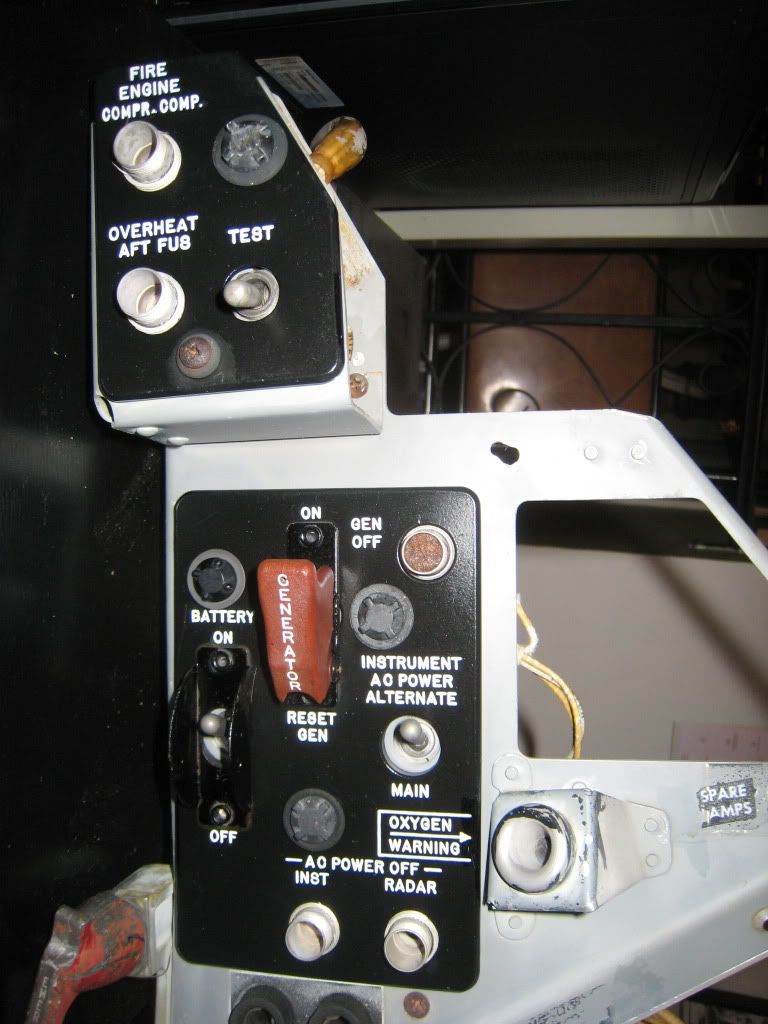
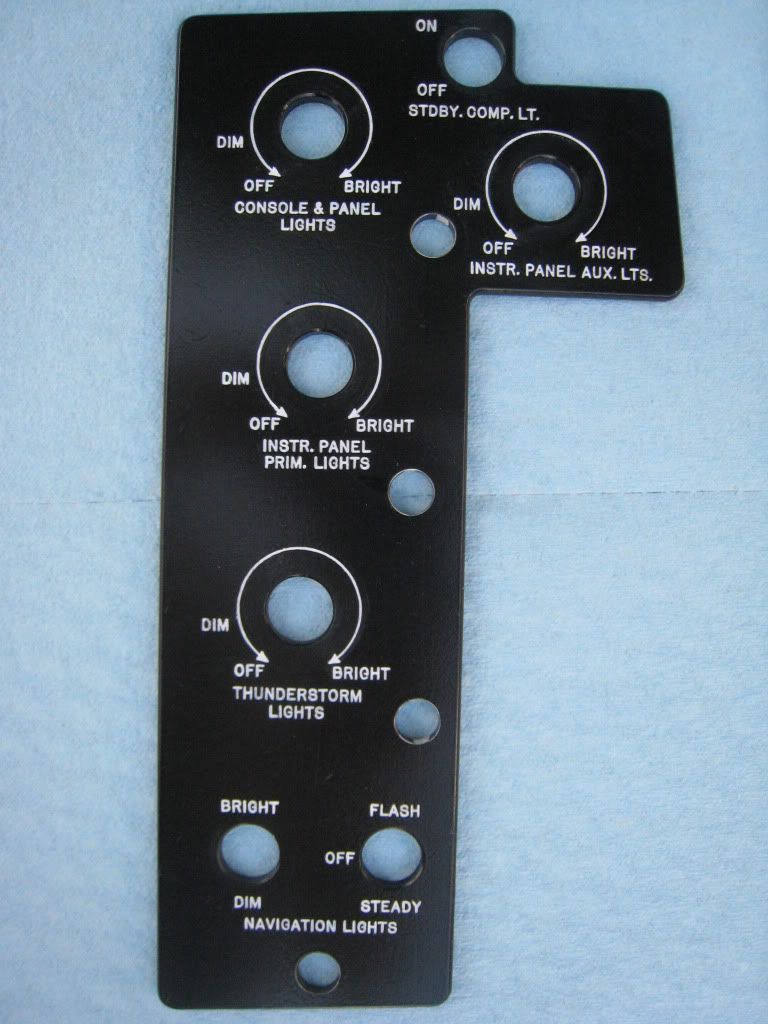
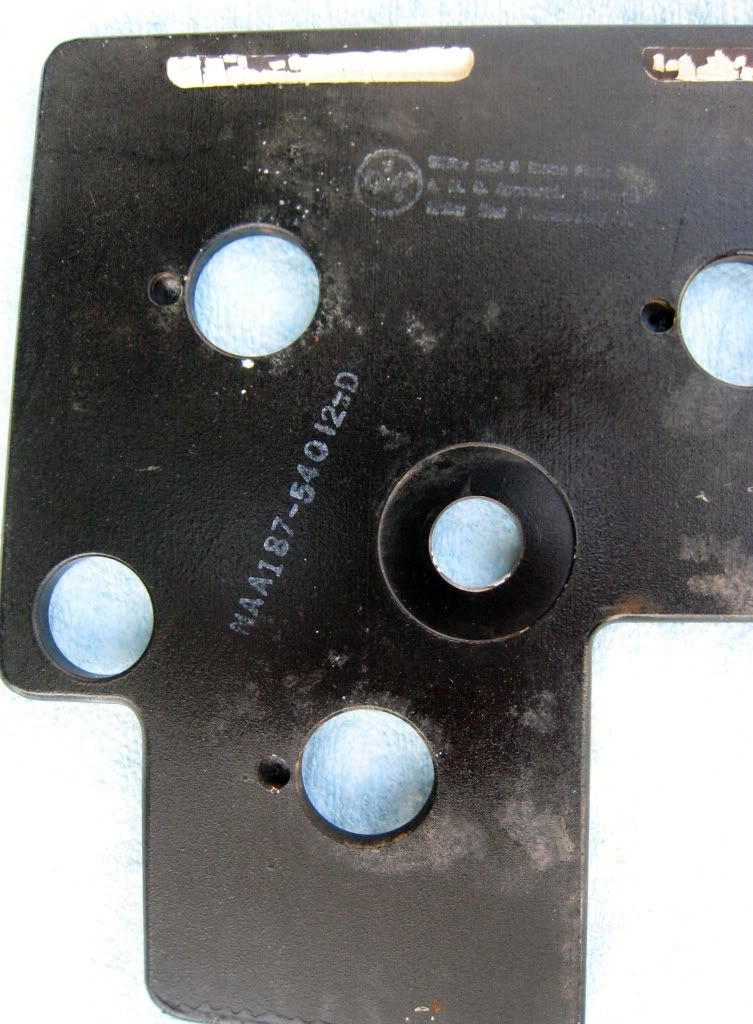
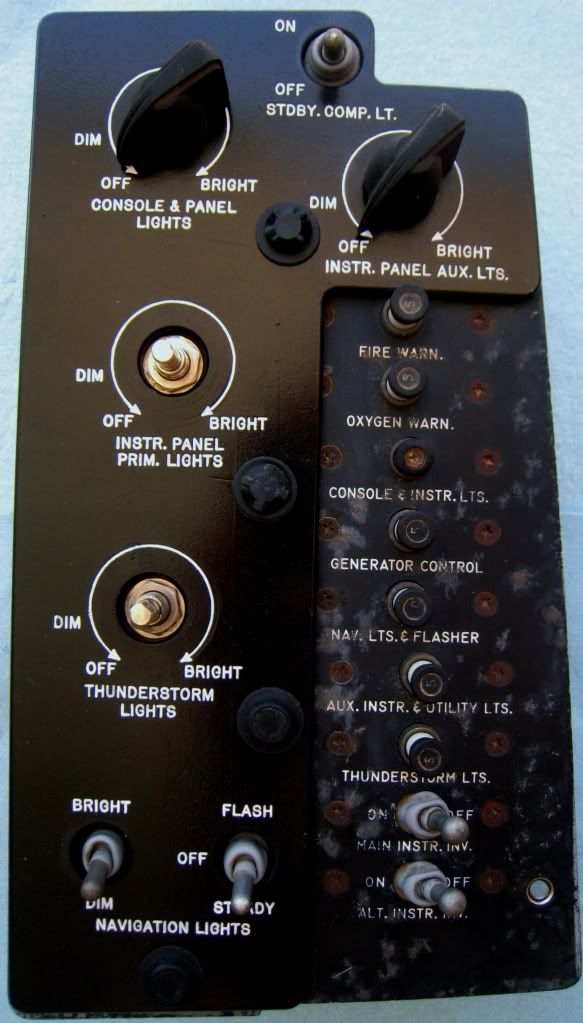
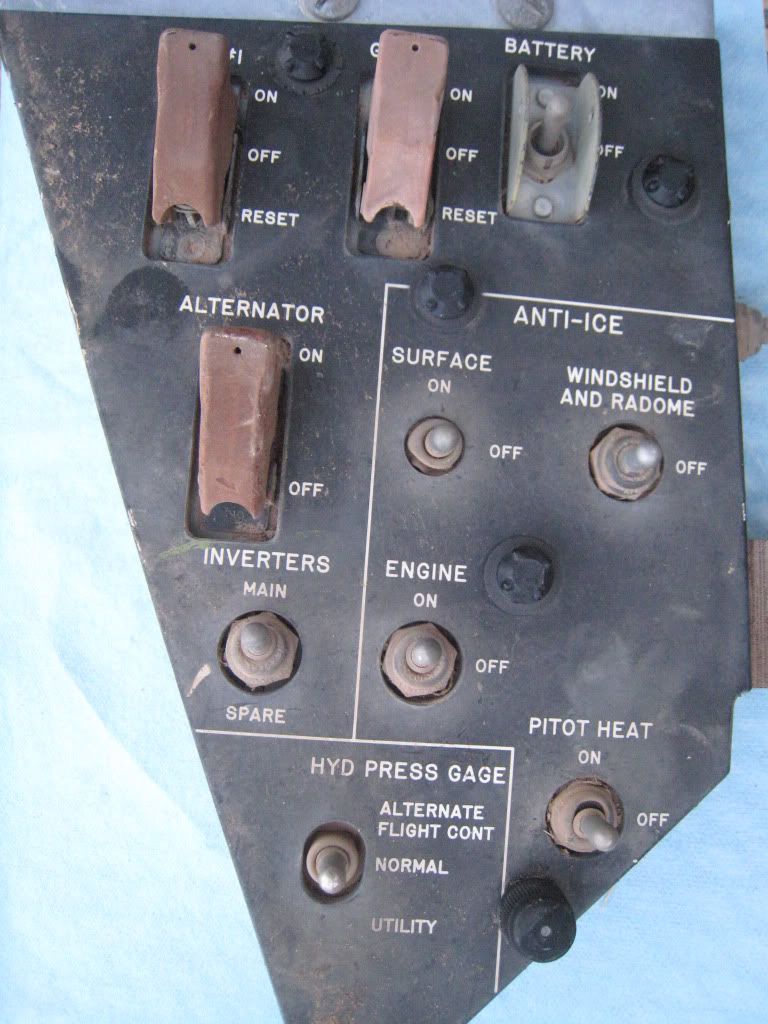
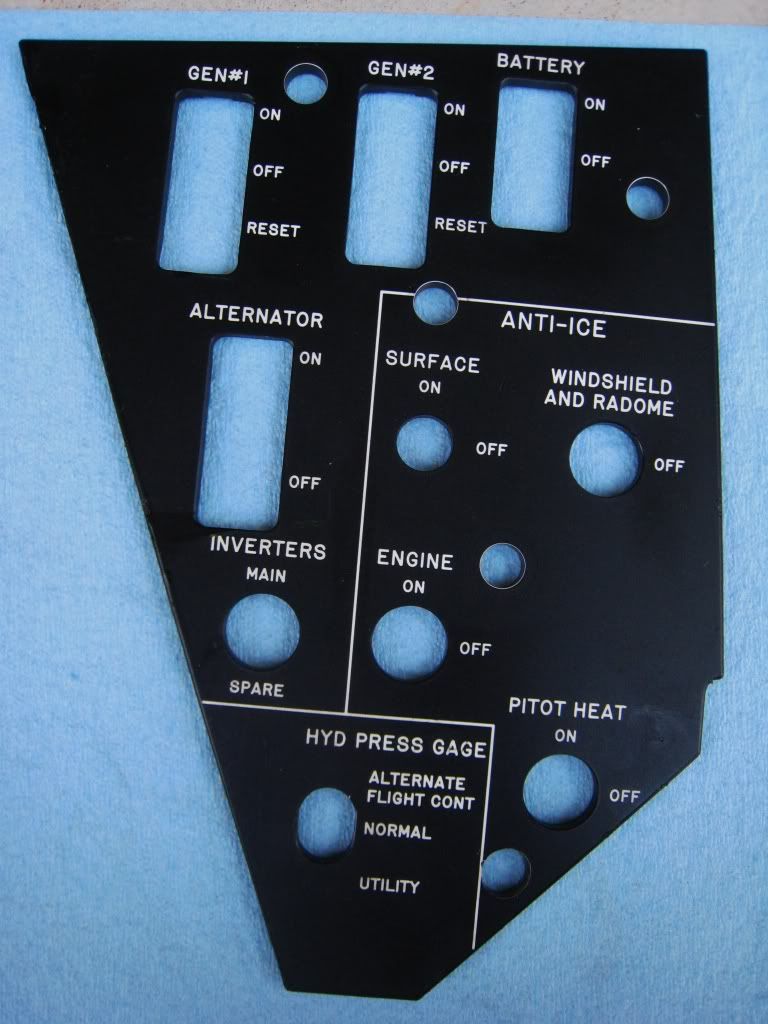
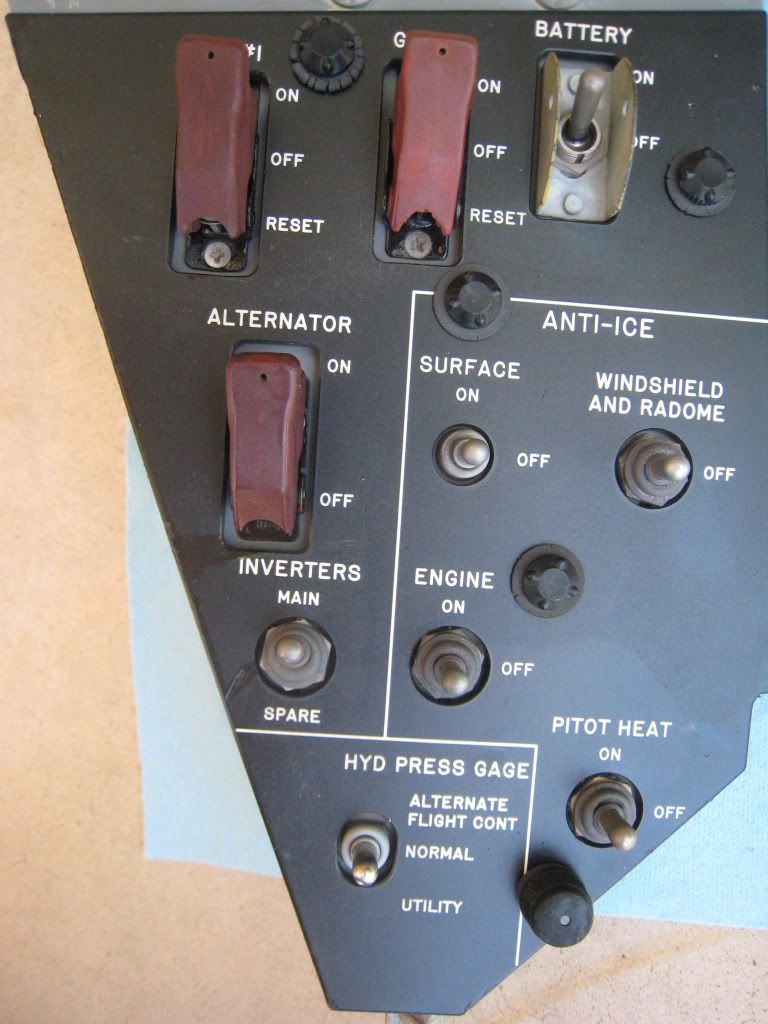
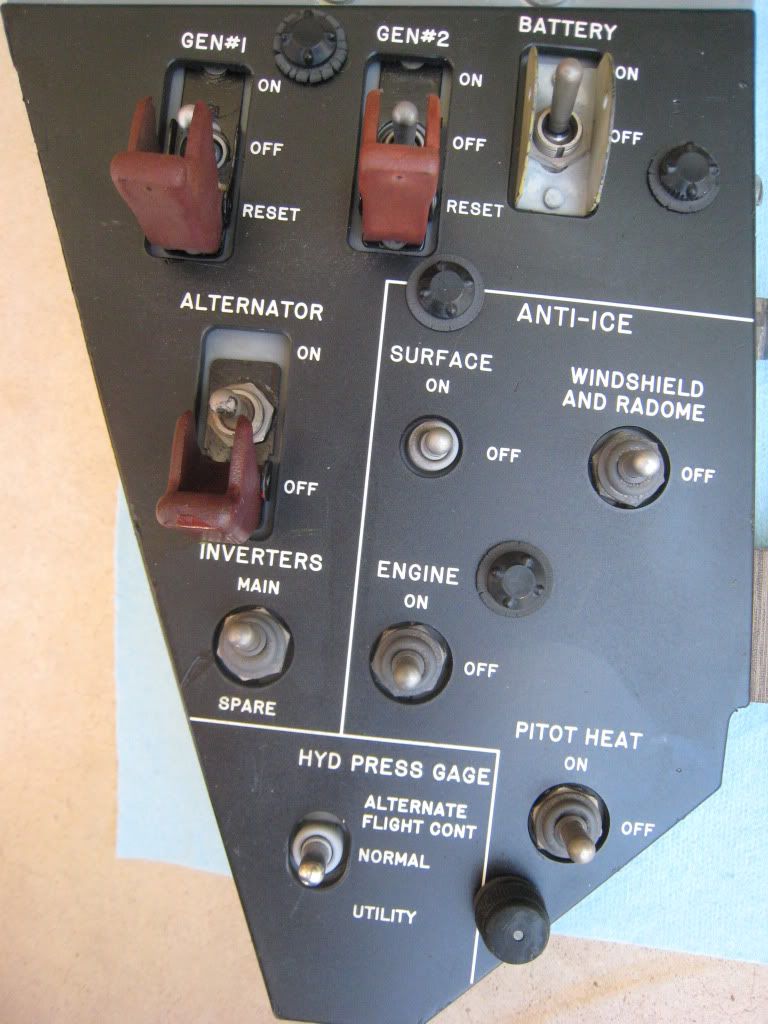
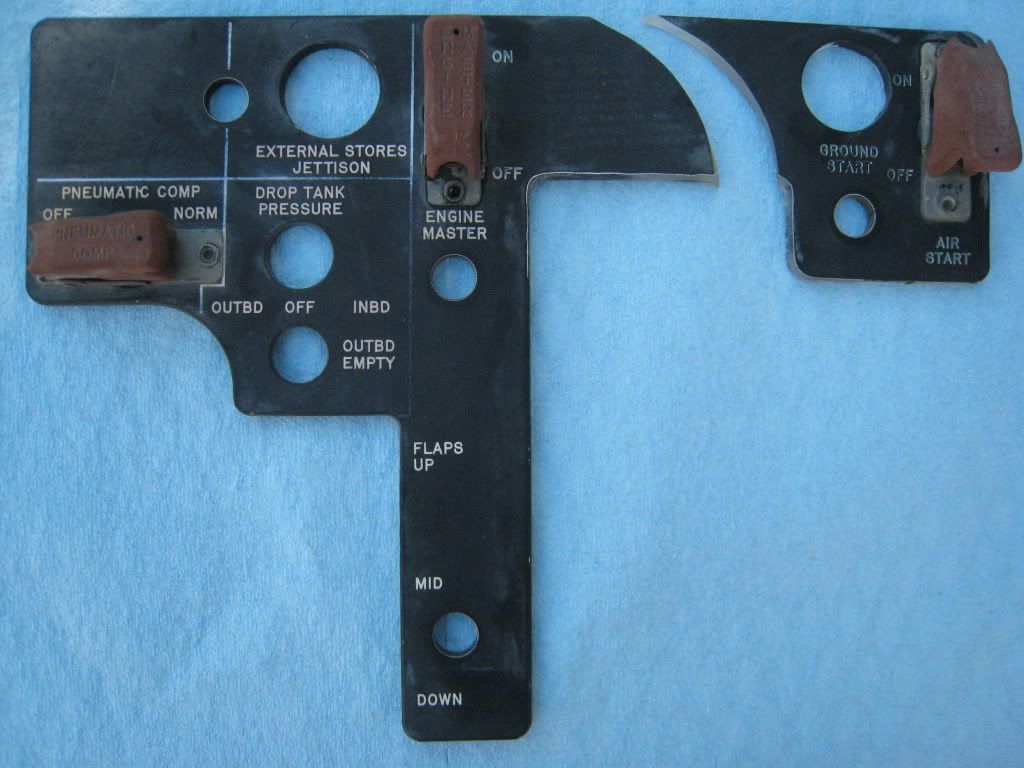
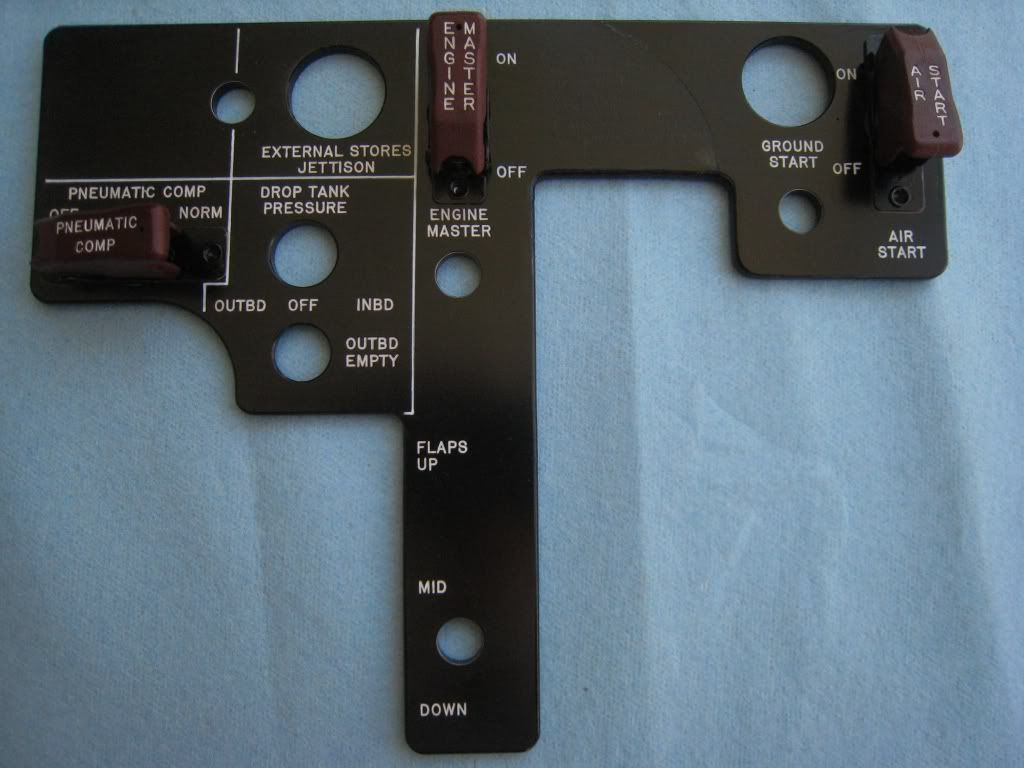
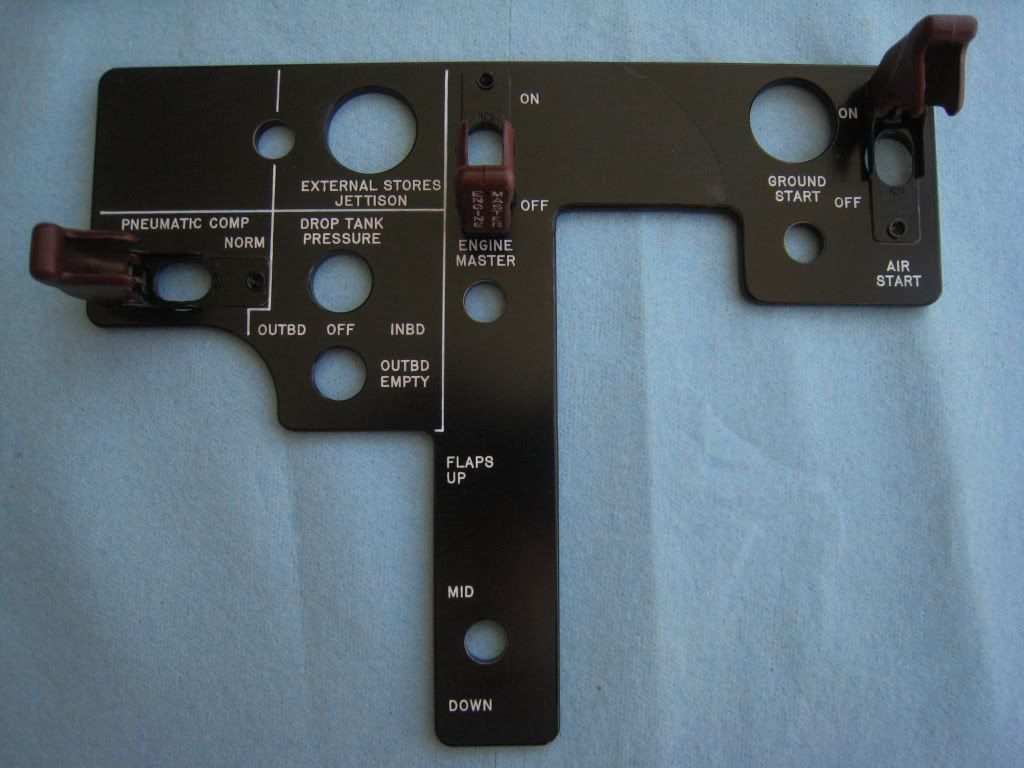
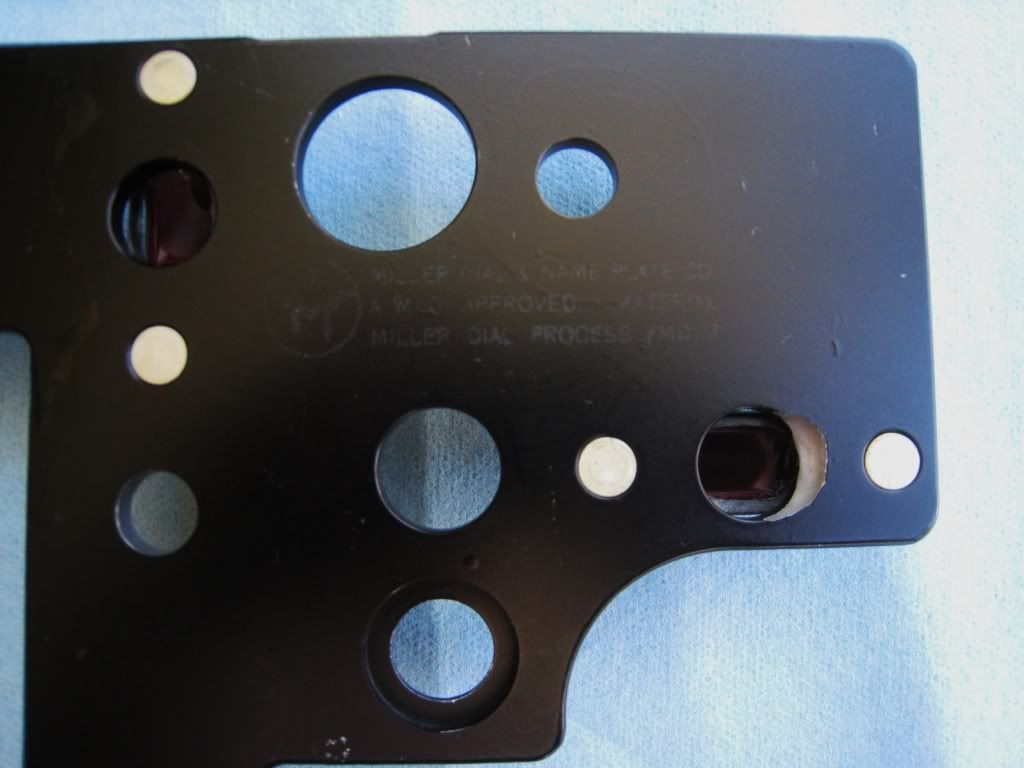
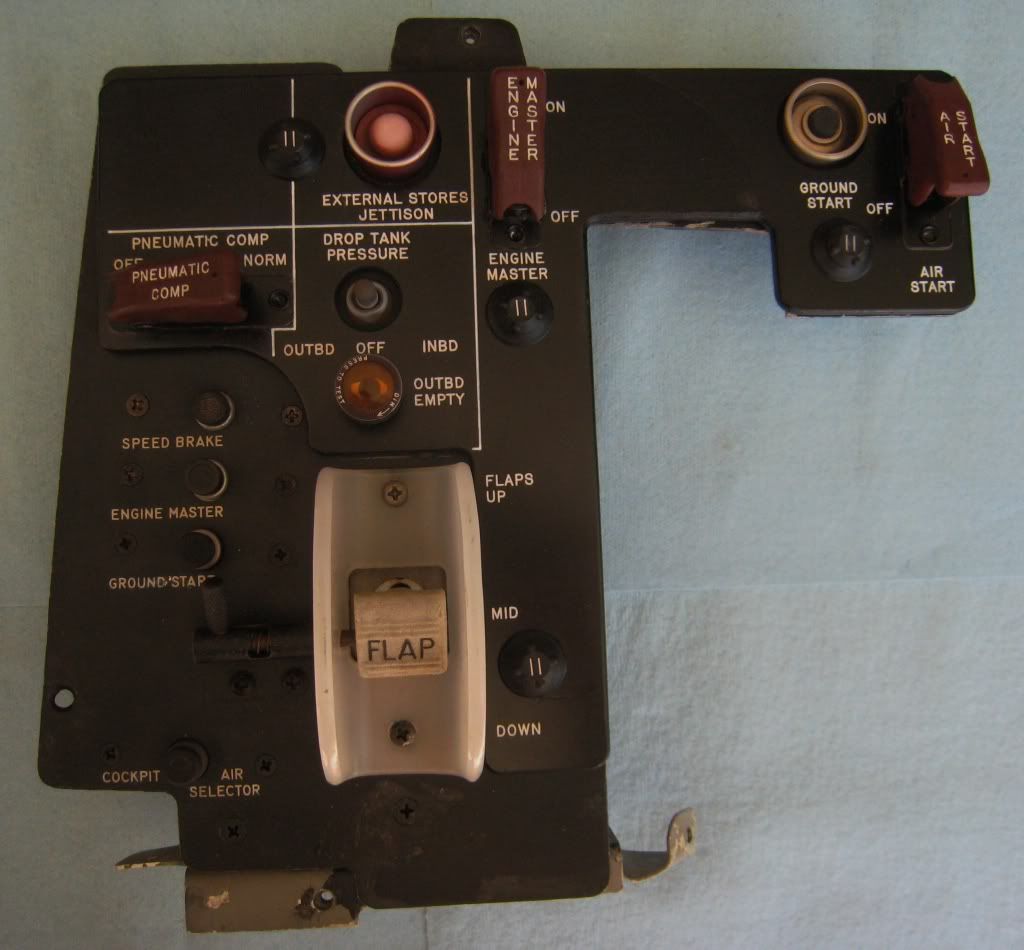
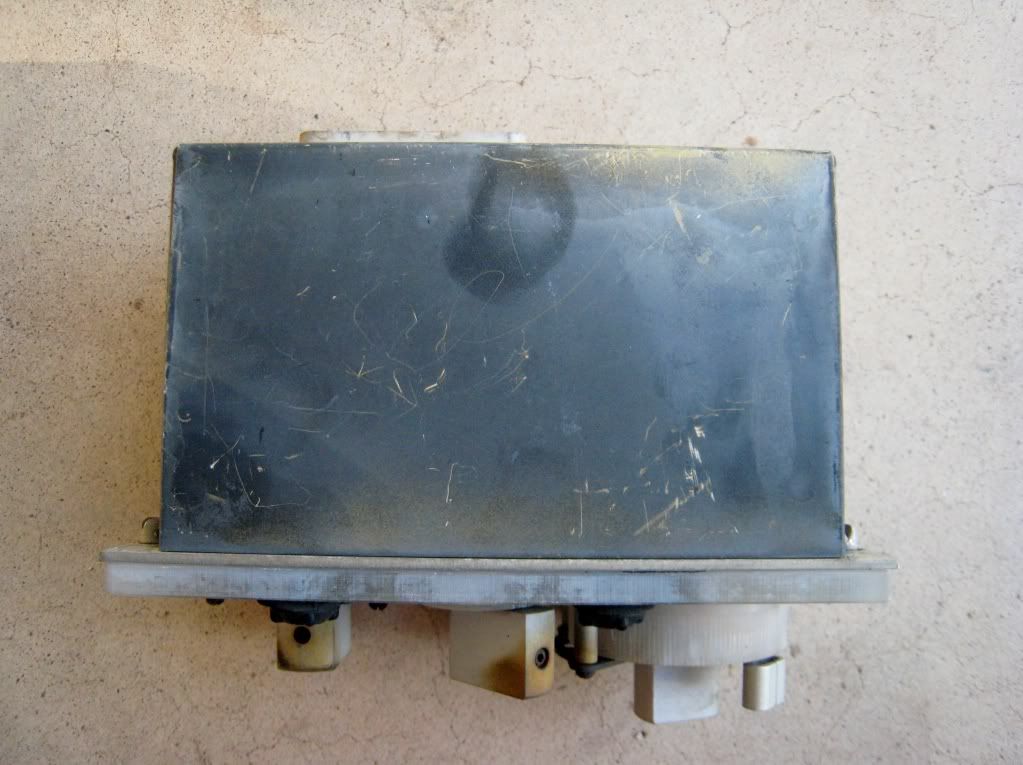
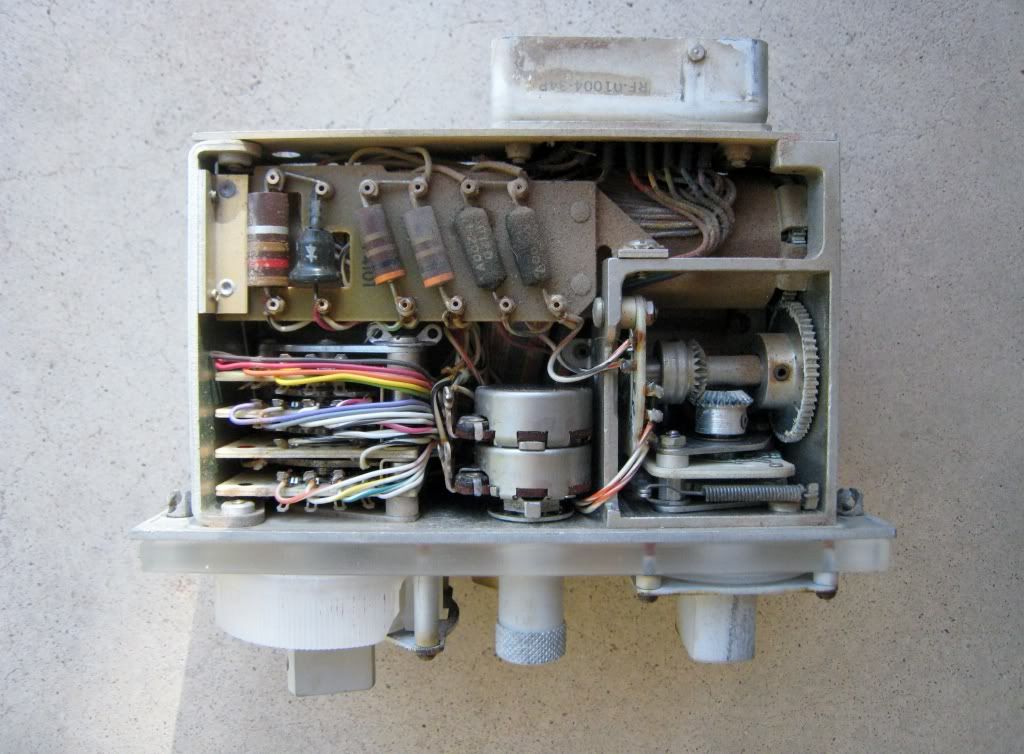
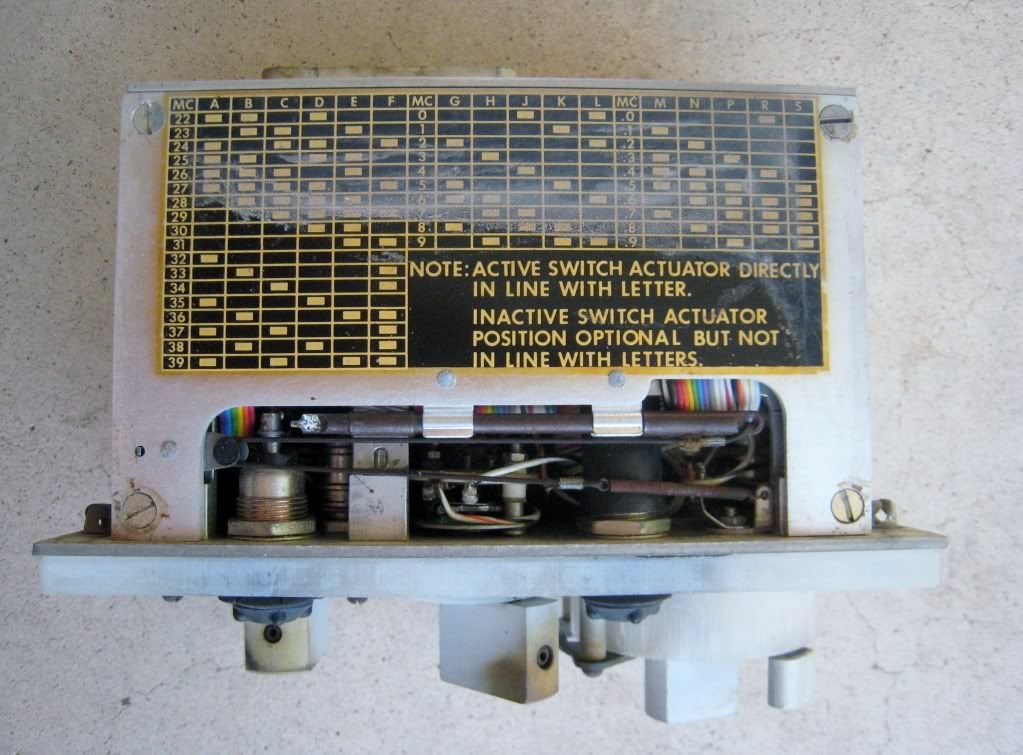
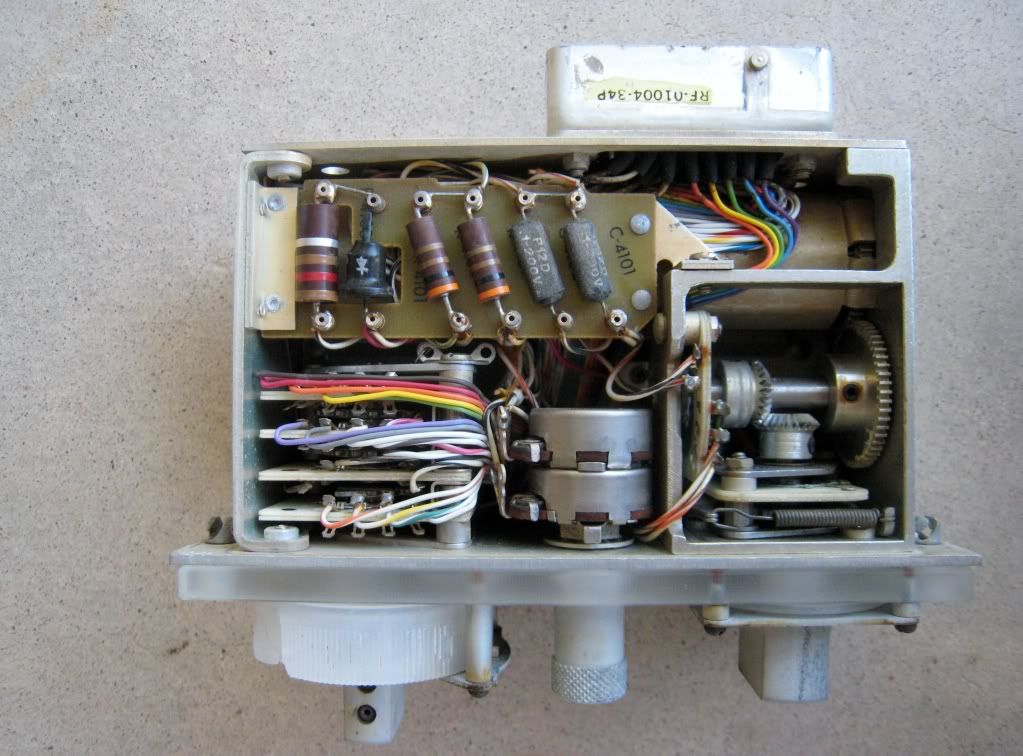
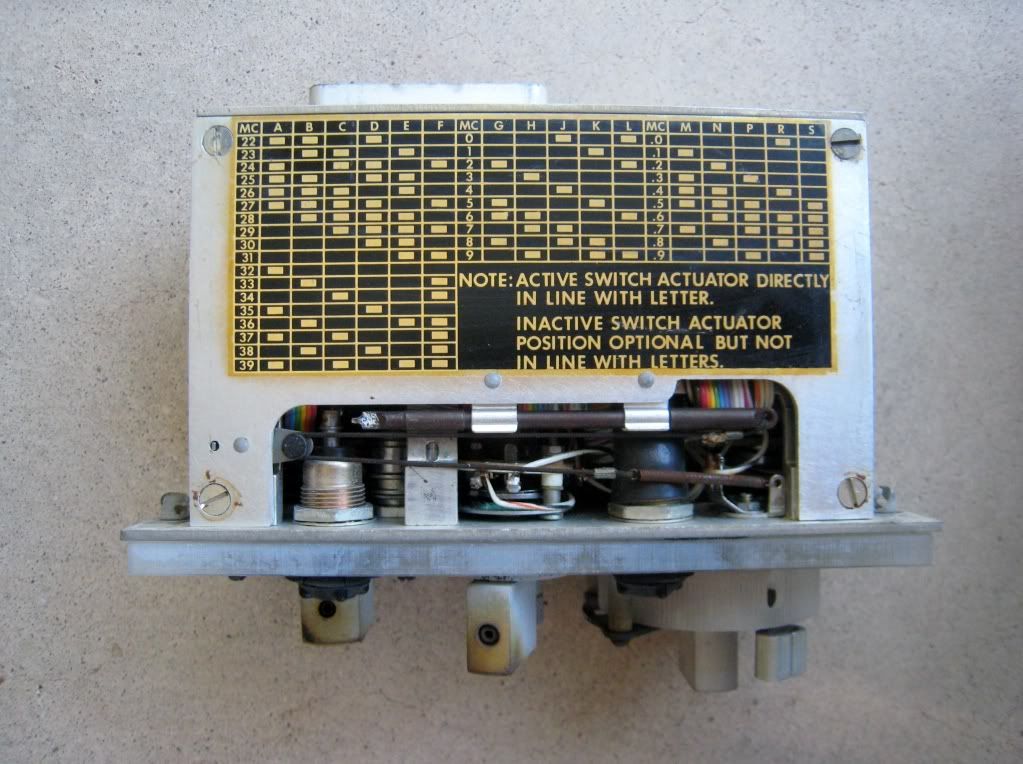
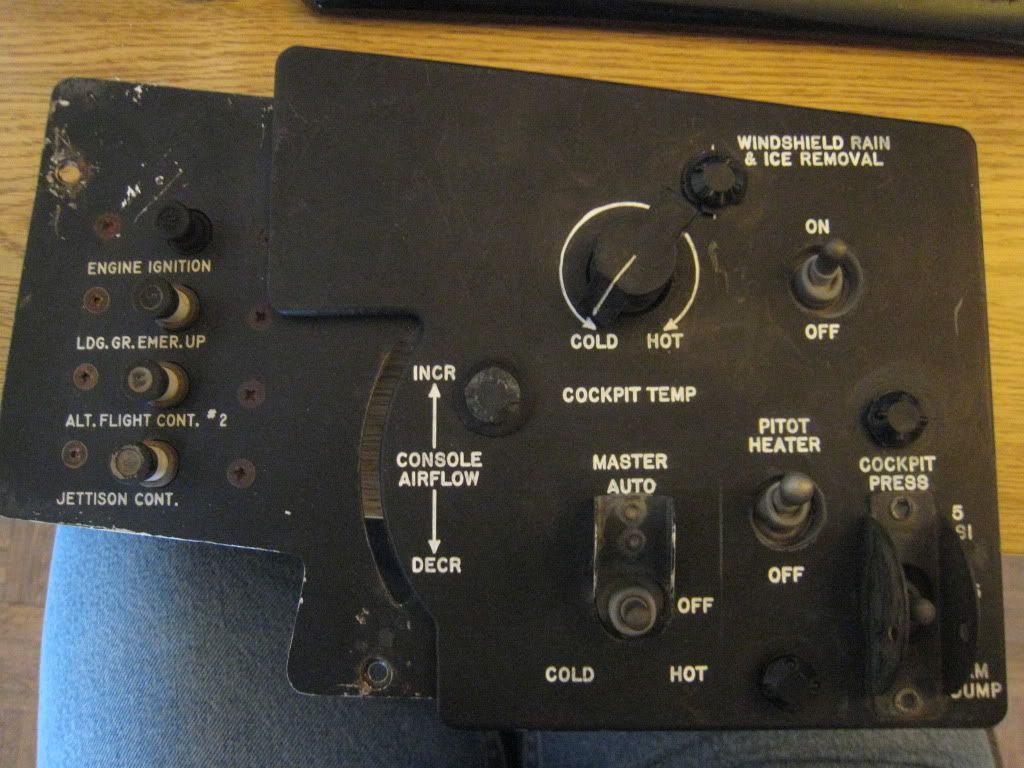
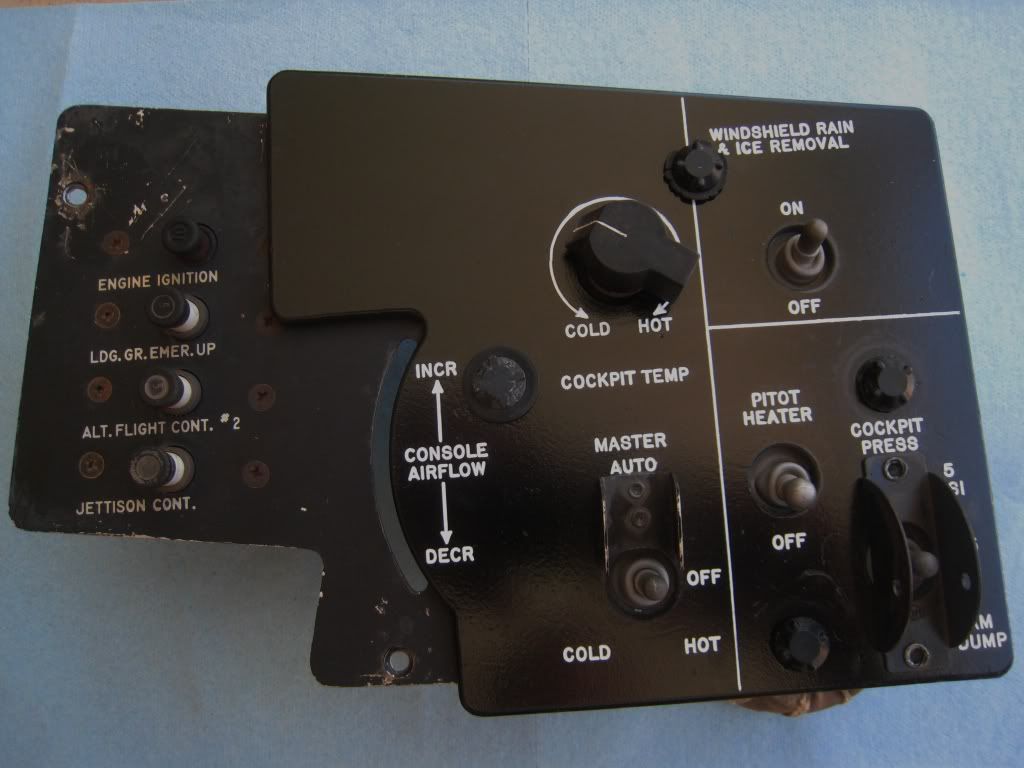
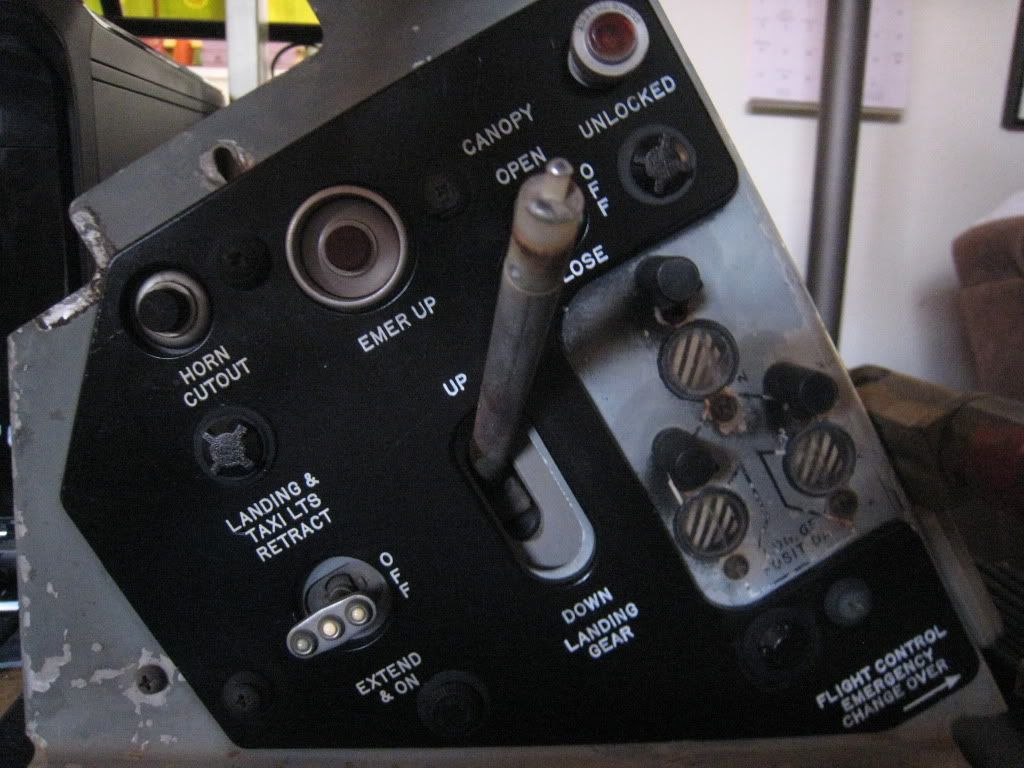
Here are a few photos of F-86 cockpit control panels that have been cleaned (dirt removed) and prepped for installation. Minor re-inking of lettering was done with clear fixative to seal. The re-inking was done to replace lettering lost through normal wear and exposure to the elements during outside storage. Panels show details well without further work for display.

Image

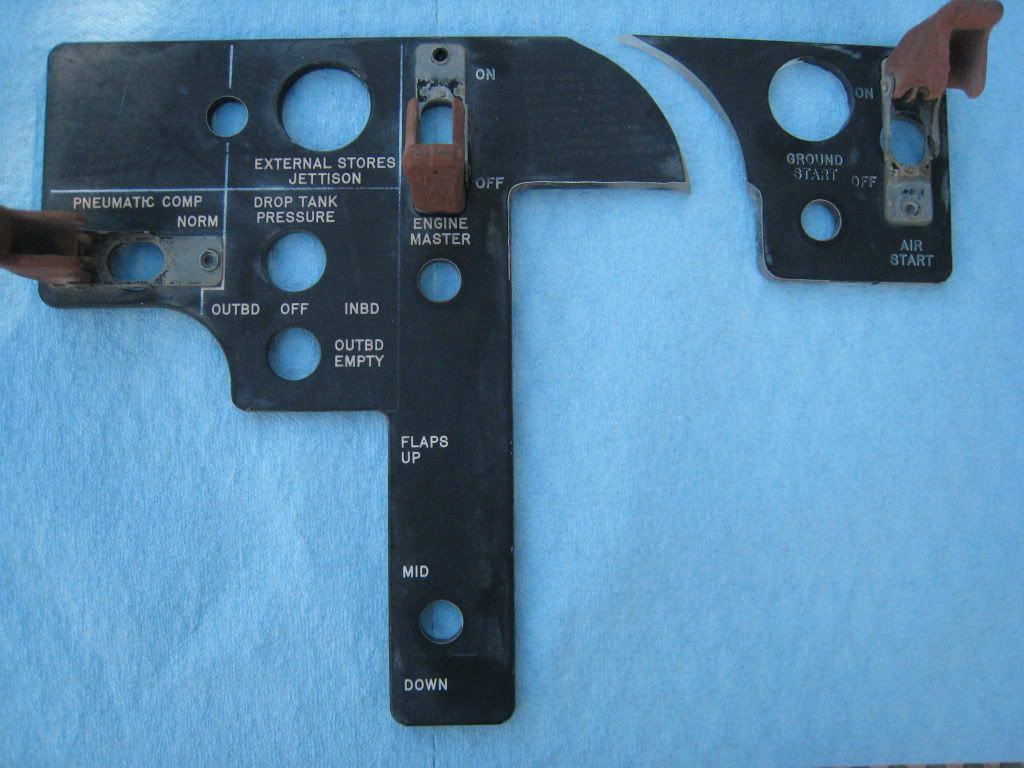
With detail lines added:

Image

Image

cadet77

Sources for part identifcation:

T.O. 1F-86-4
Technical Manual
Illustrated Parts Breakdown, 3 February 1956, Revised 21 February 1964

T.O. 1F-86-3
Technical Manual
Structural Repair, 2 August 1957, Changed 30 April 1964

Author:  The Inspector [ Sun May 20, 2012 5:15 pm ]
Post subject:  Re: F-86 Panel Restoration

Lookin' real good!!! How much time involved so far?

Author:  tulsaboy [ Sun May 20, 2012 5:16 pm ]
Post subject:  Re: F-86 Panel Restoration

Neat! Where is this airplane, and is it going on public display? Looking great!

kevin

Author:  cadet77 [ Sun May 20, 2012 10:17 pm ]
Post subject:  Re: F-86 Panel Restoration

Cleanup and inking are a few hours a panel. Time per panel depends on how many letters need to be touched. These are later production F-86 panels with engraved Plexiglas, flat black on both sides. The design is more advanced than earlier letter decals on metal and clear Plexiglas with engraved lettering and black on one side. These are not as complex as panels found in later jets with integrated lights and light emitting diodes. If a light burned out in this panel design it was easy to replace by removing the light inserts and replacing the bulb.

These panels will go into an F-86H cockpit, that is another page to be written.

cadet77

Author:  cadet77 [ Wed May 23, 2012 11:00 pm ]
Post subject:  Re: F-86 Panel Restoration

This is the Right Forward Switch Panel before:

Image

The Right Forward Switch Panel after:

Image

Still need to put in press to test lights and fuse caps, but minor cleanup and touchup make a panel look close to new.

cadet77

Author:  cadet77 [ Thu May 24, 2012 8:46 pm ]
Post subject:  Re: F-86 Panel Restoration

This panel goes on the right side of the cockpit.
The Lighting Control Panel:

Image

Reverse side the part number:

Image

Installed with some knobs, breakers and switches.

Image

cadet77

Author:  cadet77 [ Thu May 24, 2012 10:46 pm ]
Post subject:  Re: F-86 Panel Restoration

This is a right control panel from a F-86L. Panel part number NAA FRESNO 201-54671.

Before cleanup:

Image

After removal I found that the panel is several layers (black front and back with thin white layers front and back and clear center) WESCO Plastics Products, a different design from the F-86H panels.

After cleanup, no white ink touchup on this panel:

Image

Image

Image

Panel fitted on the assembly:

Image

Image

Marking on back side of panel assembly:

Image


cadet77

Author:  Fouga23 [ Fri May 25, 2012 7:20 am ]
Post subject:  Re: F-86 Panel Restoration

How do you fill in the white text? Cleanup looks great!

Author:  cadet77 [ Fri May 25, 2012 7:48 am ]
Post subject:  Re: F-86 Panel Restoration

On the F-86H panels I use a Rapidograph pen with white ink to fill in the engraved letters.

Author:  cadet77 [ Sat May 26, 2012 10:38 pm ]
Post subject:  Re: F-86 Panel Restoration

This F-86H panel is from the engine control panel. Time and exposure have made this panel a two part panel.

These are before photos:

Image

Image

Two pieces back to one panel with some detail lines and lettering:

Image

Image

Reverse side marking, Miller Dial:

Image

Panel installed on the control panel assembly:

Image

cadet77

Author:  viking73 [ Sun May 27, 2012 9:22 am ]
Post subject:  Re: F-86 Panel Restoration

Looking good! Please keep posting photos of your work.

-Derek

Author:  APG85 [ Mon May 28, 2012 1:47 am ]
Post subject:  Re: F-86 Panel Restoration

Same type of panels are used on C-130's (and many other aircraft). I can't tell you how many times I've ordered new panels and they've arrived...broken. Those Rosebud lights will make your fingers sore when you've removed enough of them. Great job!

Author:  peter [ Mon May 28, 2012 8:15 am ]
Post subject:  Re: F-86 Panel Restoration

What an interesting thread! I can relate to this with cleaning my panels for the CF101..
On a side note, does anyone know of a supplier or does anyone have any spare rosebud lights and the round seals that go with them??

Author:  cadet77 [ Mon May 28, 2012 10:45 am ]
Post subject:  Re: F-86 Panel Restoration

Note on the Grimes panel lights 'rosebud lights'.
The ones in the F-86H panels are anodized black or painted aluminum and the ones in the F-86L panel are black plastic. Is there a tool for these little jewels? The seals are an item I need to source.

cadet77

Author:  cadet77 [ Tue May 29, 2012 9:00 pm ]
Post subject:  Re: F-86 Panel Restoration

Next in line to break the panel work is a Control Radio Set C-1904/ARC-27 made by the Admiral Corp.

This little unit mounts on the upper left hand side of the cockpit above the instrument panel and the glare shield. The control set has been exposed to the elements for a number of years and weathering has removed much of the paint and all of the lettering. The first photos are the before shots of front, top, rear, bottom and a few of the inside views to show what gets inside of a closed box.

Control Radio Set C-1904/ARC-27 in the raw:

Image

Image

Image

Image

Cover removed:

Image

Image

Image

Much of the dust removed:

Image

Image

This is the pattern unit for the one I am working on.

Image

More photos to follow.

cadet77

Page 1 of 9 All times are UTC - 5 hours
Powered by phpBB® Forum Software © phpBB Group
https://www.phpbb.com/