A place where restoration project-type threads can go to avoid falling off the main page in the WIX hangar. Feel free to start threads on Restoration projects and/or warbird maintenance here. Named in memoriam for Gary Austin, a good friend of the site and known as RetroAviation here. He will be sorely missed.
Mon Aug 31, 2009 11:08 pm
Thu Sep 10, 2009 10:56 pm
I hope you're planning on putting a static line in there. We would like to jump it when you're done.
Here is some video of our planes in action
http://www.youtube.com/user/coastdef
Fri Sep 11, 2009 10:10 pm
Yes it does have a static line. not installed obviously. but it will have once done, currently its in a storage container. She should be done this winter.
Thanks for the comments
Sat Sep 12, 2009 9:33 am
We just got through installing the static line in ours. Next the jump seats. Question ........you say painting it green like in WWII. After finding all the stamps (ie. Troop Oxygen, Para Pack Release Handle, Station IDs, etc.) on the side of ours when stripping the old paints off, it appears that the inside was NMF. Is this likely? No matter what we want to conserve the original stamps.
Sat Sep 12, 2009 11:27 pm
We found some stenciling too once b ead balsting was done and we started priming. So yes, ours too would have been delivered bare. BUT with the promixty eing 7 miles to the ocean, we must spray the interior, we are using the original color hue for the C-47B interior. PPG was kind enough to donate all the paint and primer for the restoration and have matched our Hues exactly. Do you have photos of the locatio of some of your stencils? Such as the parapack info?
Sun Sep 13, 2009 7:53 am
Para Pack Release lettering is just forward of the junp door about two feet off of the floor. There is a place where a switch may have been mounted, but am not sure if this is the mount for it or not. I will try to get pictures of it and post soon.
Tue Oct 06, 2009 7:50 pm
Here's the contrast of the bare after blasting, with primer and the final top coat color paint.
Interior Primer, First coat. Second to come. Floors are last. Radio Room walls are cleco'd in the original WWII position, they were pushed forward after the war.
Vertical Tail, overhauled and almost ready for installation again!
More pics to come. Stay tuned. Things are coming togther faster, emergency exit hatches are coming next!
Wed Oct 07, 2009 10:07 pm
Side Escape Hatches at overhaul...
Now I just got to scrap off the glue from the seals and time for paint. Stay tuned, Priming tomorrow, top coat Friday, Finished Saturday!
Sat Oct 17, 2009 8:36 pm
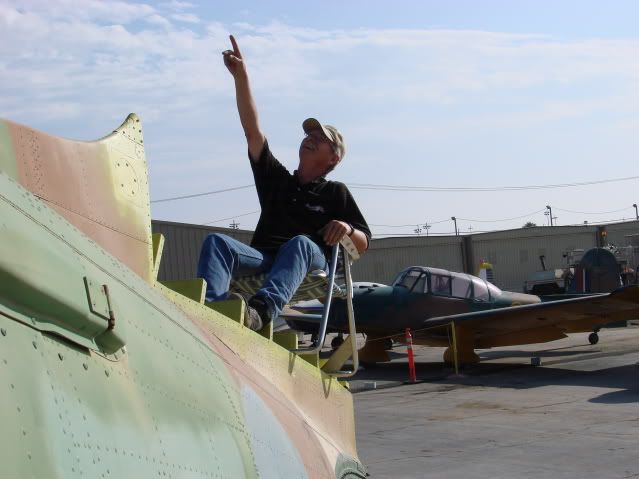
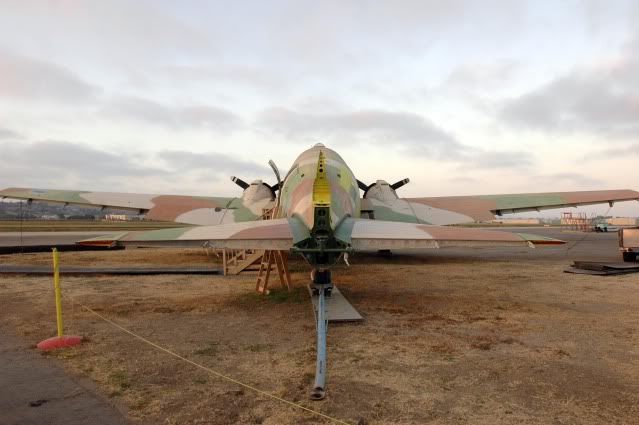
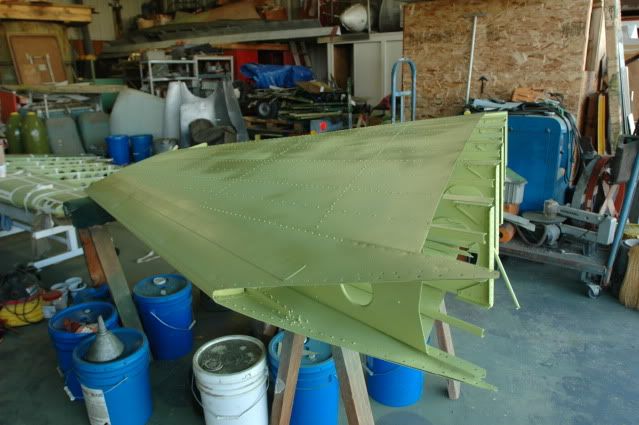
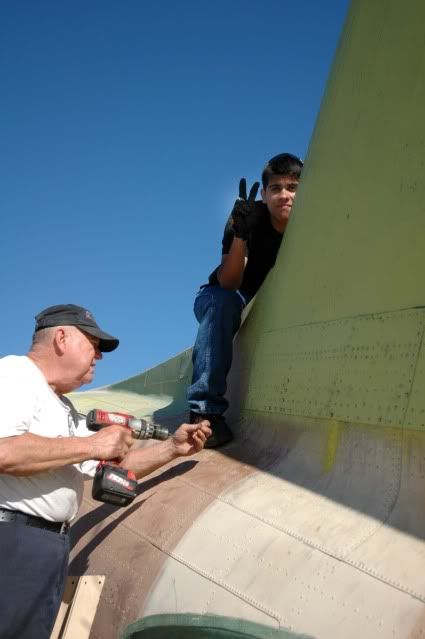
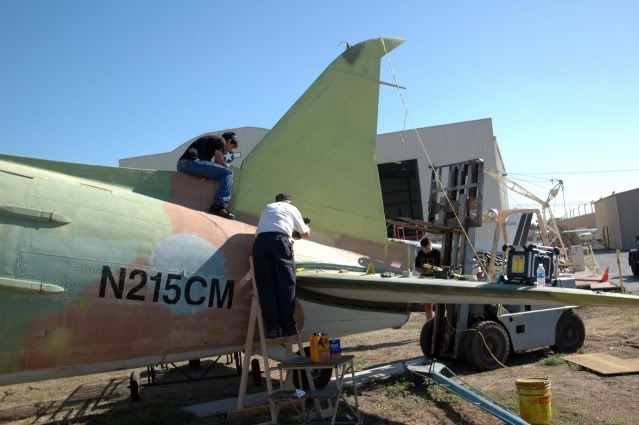
Hi everyone. I know its been awhile since some "Visible" progress was made on the 47, and today were proud to annouce the vertical stabilizer is overhauled and reinstalled!
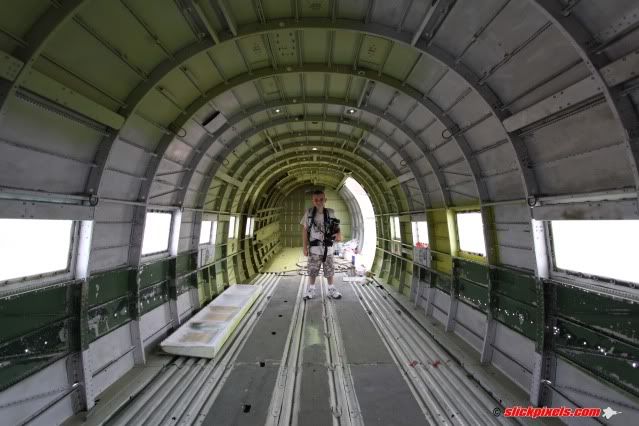
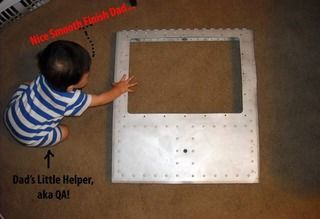
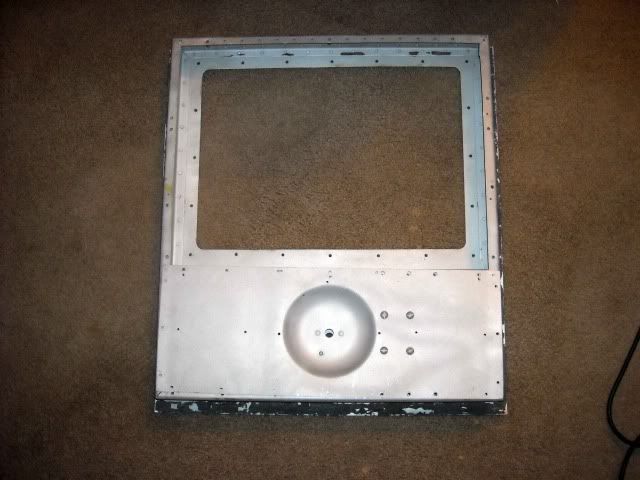
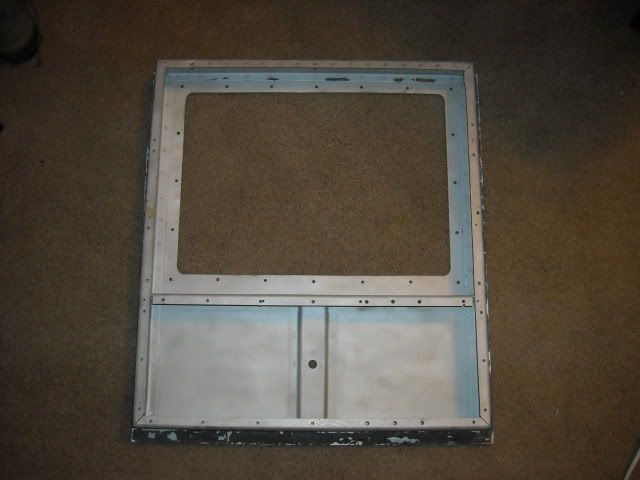
Also there were 2 windows that were installed in the Nav./radio room that we decided to remove and create a filler panel and a doubler on to close over to get the outside and inside of the aircraft back to orignal status. The doublers were cleco'd in today and filler panels this week.
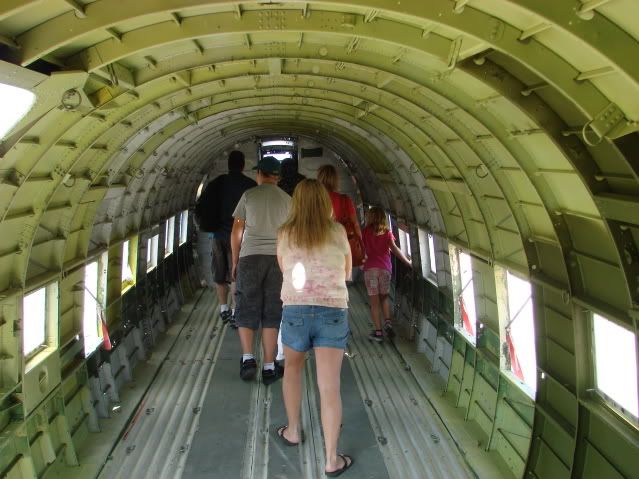
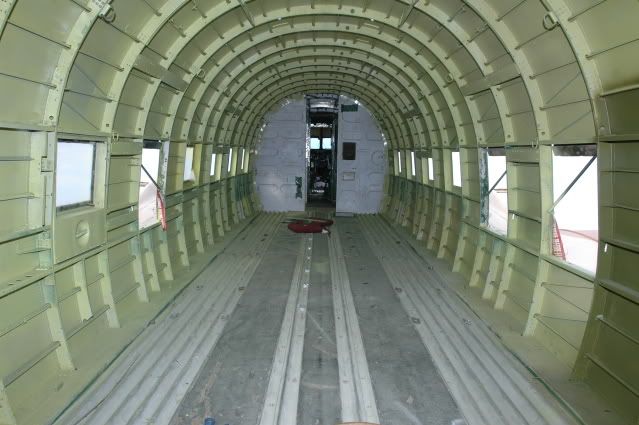
This week we will be reinstalling the Nav/Radio room walls back to their original position to complete the overhaul of the Nav/Radio Room. From here on in its all about covering the floor and internal restoration on the original radios, table, astro compass, drift meter and misc. equipment that was originally in the aircraft from the GFE installation of 1944.
Now that the vertical doesnt take up the floor space in the hangar, re-wrapping the elevators and rudder will take place, in hopes that we can wrap up the tail section of the aircraft by the 1st or 2nd weekend of November.
The later half of November and Entire Month of december will be reserved for Flight Deck restoration, Wing Pull and Engine re-builds.
Sounds good on paper, but as we all know, things will most likely come up and schedule changed, but we do have a goal, so we are pressing on with progress.
Anyone interested in helping out is welcome out on Saturday's to assist.
Dave & the American Aeronautical Foundation......
Wed Oct 21, 2009 8:51 am
Thank you very much for the update!!!!!!!
She is looking really fine!!!
Mon Oct 26, 2009 10:32 pm
www.aluminummistress.org has new photos in the gallery and te website has been redone. Its not all up and inline, but many of the pages to include the photo gallery!
Thanks for watching!
This week we have the emergency exits hatches getting finished with a complete tear down, rig and rebuild + paint!
And much more!
Tue Oct 27, 2009 10:18 pm
Dave I hope that I misunderstood you when you said that you were plating over the nav and radio ops windows, if so you have made a mistake in thinking that they were not original. The nav had the window that is show in you previous photos and the radio operator had the same size window located just above his head. You may want to do some more research on this before you go too far. We have just reinstalled ours as they had been blanked over since the war. We have local crew member vets who not only confirm these locations, one even has pics of them. Jim
Wed Oct 28, 2009 1:44 am
the windows we are plating over are the not the "skylight" size windows, they are full size windows, and are installe din areas, where such things as the Driftmeter and radio are installed, they were not original, we have confirmed a few times on the internet, books and blueprints. Now the smaller windows that do go over the nav/radio peoples heads we plan to reinstall in the correct location and size, but thanks for the heads up! Now i just need to find some NOS original window seals!
Wed Oct 28, 2009 7:51 am
You gave me a start for awhile there, glad to hear of the mod then. I think that we got the last of the seals from Nadine. We may have gotten an extra one, so I'll check and get back with you on it. We are having seal material cut this week for our cargo hold windows, and although they will not have the raised inserts we are planning on cutting rubber tubing to act as grommets to fit inside the mounting holes. Jim
Sun Nov 01, 2009 1:15 am
Here's how our inside escape handles turned out. They look great, but I still need 3 more to complete the hatches, the 3 from those hatched were not original, but cheap copies that didnt last long
Anyways, heres the picture (and dont mind the hydraulic fittings holding up! ) , and soon to follow are pics of the rudder covering progress, the hatches themselves in the sheet metal shop, and misc others... Next 3-4 weeks will have a big push to cover holes and windows permanently before the winter season hits. ( Not that So Cal weather is that bad! )
Powered by phpBB © phpBB Group.
phpBB Mobile / SEO by Artodia.