A place where restoration project-type threads can go to avoid falling off the main page in the WIX hangar. Feel free to start threads on Restoration projects and/or warbird maintenance here. Named in memoriam for Gary Austin, a good friend of the site and known as RetroAviation here. He will be sorely missed.
Post a reply

Tue Jul 07, 2009 6:51 pm

A thousand apologies, but I'm simply unable to keep up with all this. Wonder if y'all can post a summarized update right quick? Where's Fifi at now, any target date for return to flight? Any other major issues making major headlines?

Tue Jul 07, 2009 6:55 pm

Hey guys, it's a forum of information exchange. No arguments. We'll see what works best, safest and least confusing and go with that. As no one can give any logical reason why they were numbered the way they were? Gary, you guys worked it that way because you had to. I have a chance to make it better, so that's why I'm ask'in.
Thanks for your imput!
Dave

Tue Jul 07, 2009 6:58 pm

Pogo wrote:A thousand apologies, but I'm simply unable to keep up with all this. Wonder if y'all can post a summarized update right quick? Where's Fifi at now, any target date for return to flight? Any other major issues making major headlines?

First new engine on,Target date for flying summer of 2010.

Dave

Sun Jul 12, 2009 11:19 am

A quick update with steady progress being made.

Mark came out to help again yesterday and got to wire the mag switches. Obviously, before that could be done, I had to finally decide how they would be numbered?? Having said that, here's how it went.

Once we got one of the conditioned air hoses up to the flight deck, Mark was happy, Like a kid in a candy store!

Image


Image

This shot shows the great work Shorty did pulling all the new wires to the engineers panel.

Image

Of course, after mark got all the terminals on and put in there respective place, I had to inspect! Turned out to be an excellent job! No changes necessary.

Image

Here is the arrangement I went with. Don't think anyone will have a problem with it and I do see the benefit of keeping with tradition. Just a side note before someone comments, the labels for numbering the switches is only temporary!

Dave

Image

Mon Jul 13, 2009 12:08 am

I do have a question that has been bugging me for a long time.
How come in an aircraft application they use that wire with the crappy hard insulation, it hardens and cracks very easily in time. Where the wire used in automotive applications stays nice a plyable under all kinds of conditions? Every time I hear of some sort of electrical failure in an aircraft due to a short, this question of mine always comes to mind. Also why not protect it in the same split plastic sheathing that the auto industry uses? Can anyone answer this?

Mon Jul 13, 2009 12:22 am

engguy wrote:I do have a question that has been bugging me for a long time.
How come in an aircraft application they use that wire with the crappy hard insulation, it hardens and cracks very easily in time. Where the wire used in automotive applications stays nice a plyable under all kinds of conditions? Every time I hear of some sort of electrical failure in an aircraft due to a short, this question of mine always comes to mind. Also why not protect it in the same split plastic sheathing that the auto industry uses? Can anyone answer this?


Easy, TOXIC FUMES,
auto wire can give off deadly fumes when it burns, aircraft is not suppsed to give off deadly fumes.

The newer Tefzel wiring seems to hold up well with age. The older aircraft wiring had rubber insulation with a cloth woven outer sheath and that stuff falls apart when you look at it.

Sun Aug 02, 2009 11:22 am

Guess I've been kinda busy and haven't posted anything for a while, so here goes! I had Rick Garvis here a couple of weeks ago to help with "FIFI". We got alot done and finally have about everything hooked up on the engine.
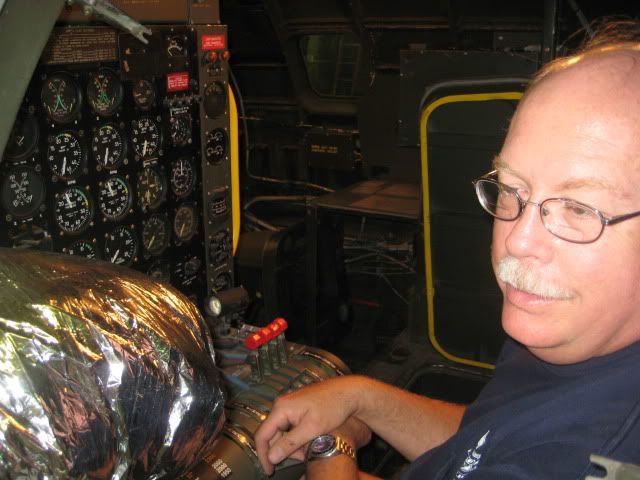
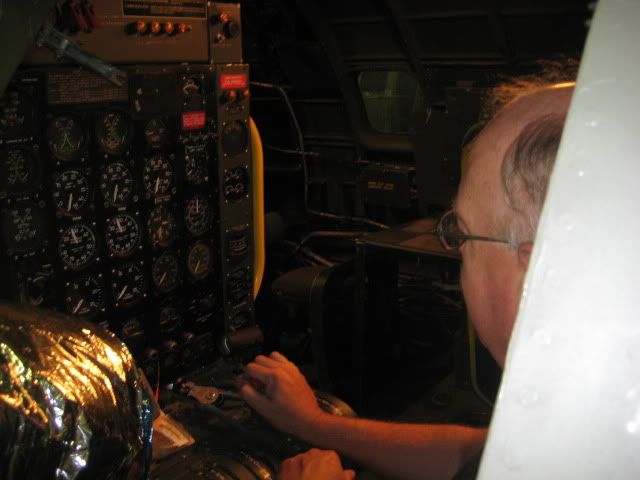
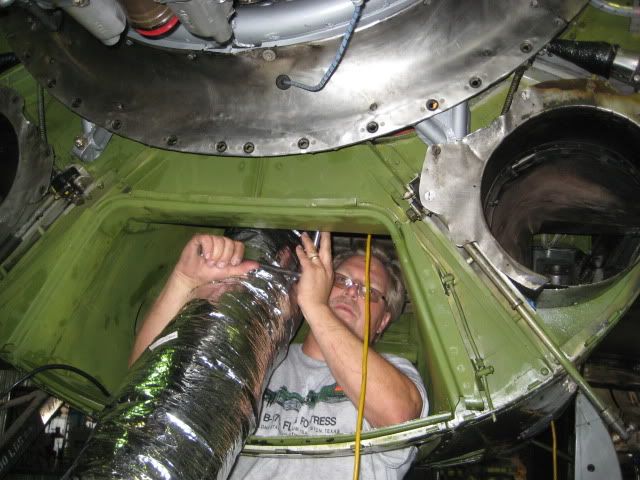
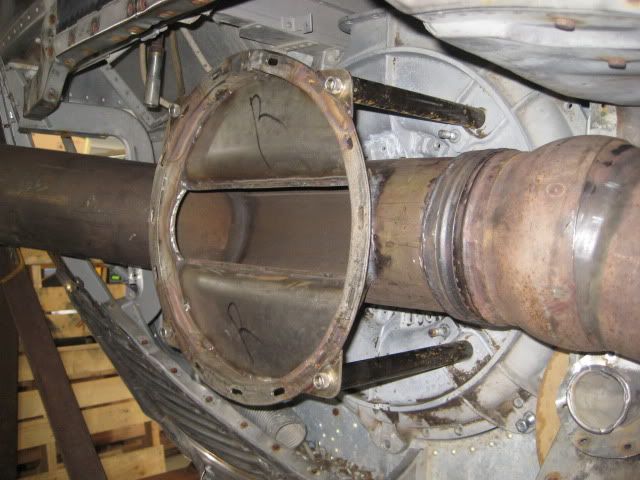
This is Rick putting in a plug on the rear sump. He's gotta stop wearing that B-17 T-shirt around "FIFI"! That duct is our portable A/C unit. You see he doesn't get to far away from that!
Image


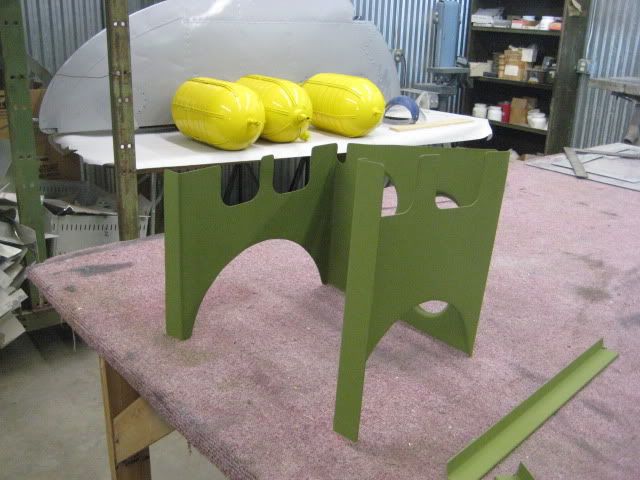
One of the students from Midland School of Aviation is working a sheetmetal project for "FIFI". I had him make this bracket to hold one of the O2 bottles we are installing in the aft compartment. He took the measurements, made the bends, cut out the lightning holes, flared them and made the cut outs for the wiring that it is going to be installed around!

I got it painted along with the bottles and all it needs now is some "L" brackets riveted on to hold the clamps.

Image

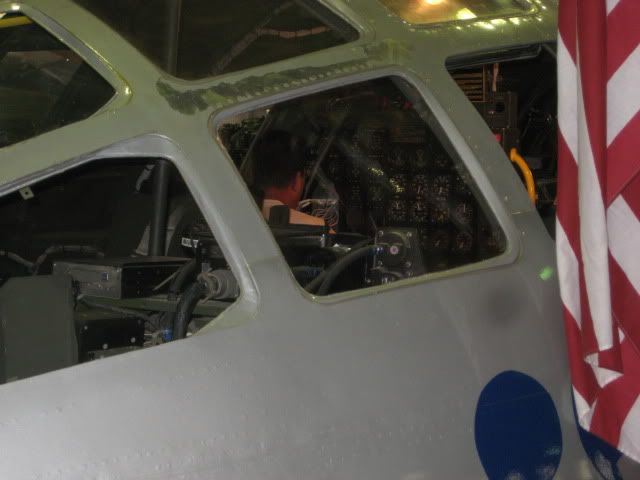
This is what it looks like in T-Square 54. We had to change it just a bit to make it fit.

Image

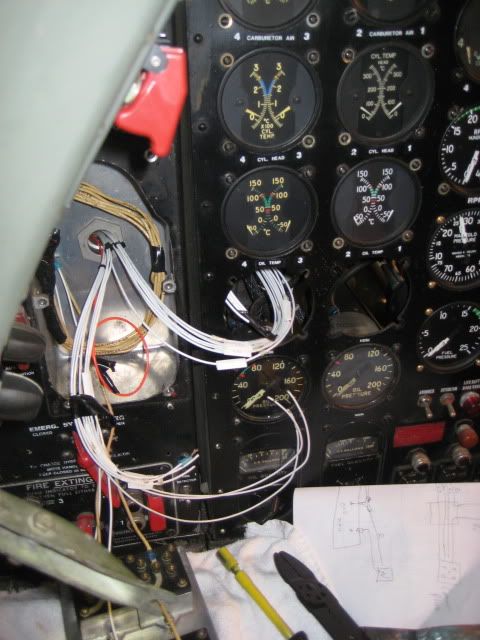
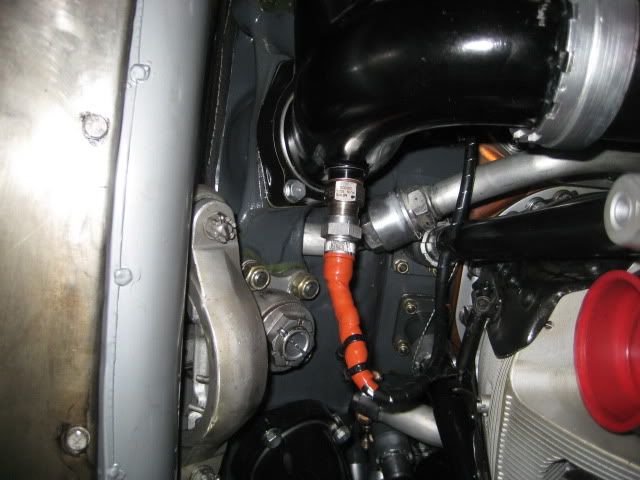
Another project I have been working on is the Induction temp. indicator, probe and wiring. The purpose of this is to see our air temp. just before it enters the cylinder. The induction tube on the #7 cylinder was chooen for the probe mostly because it is a rear cylinder and should be our hottest spot near the exhaust. It also was nice that there was a boss on the tube for a probe.

Image

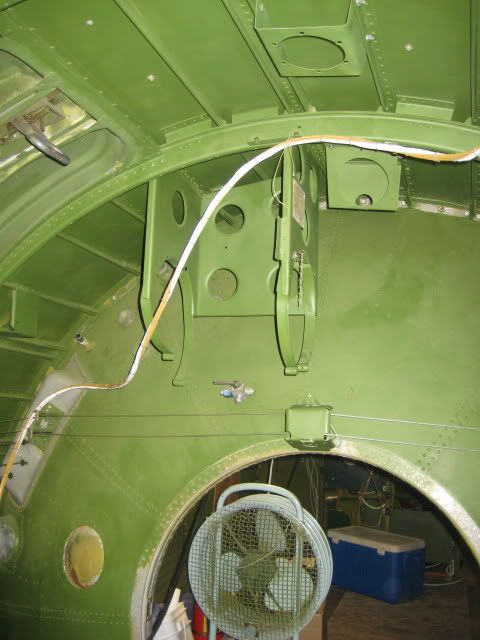
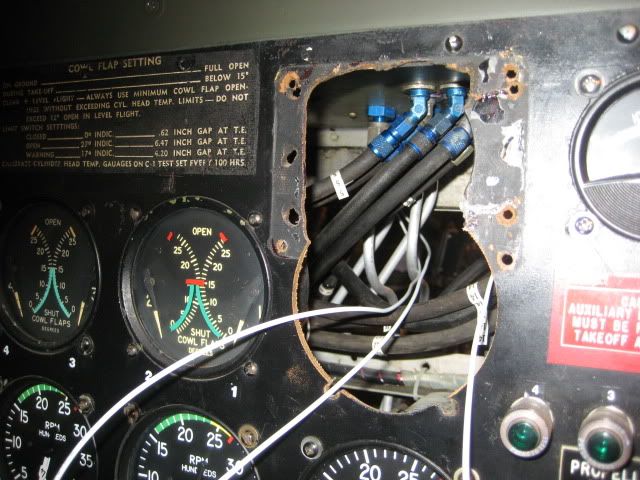
Wiring for the indicator had to be run from the wing junction box to the engineers panel. There was already extra wires put in before, from the junction box to the nacelle for such things, so the leading edges wouldn't need to be removed.
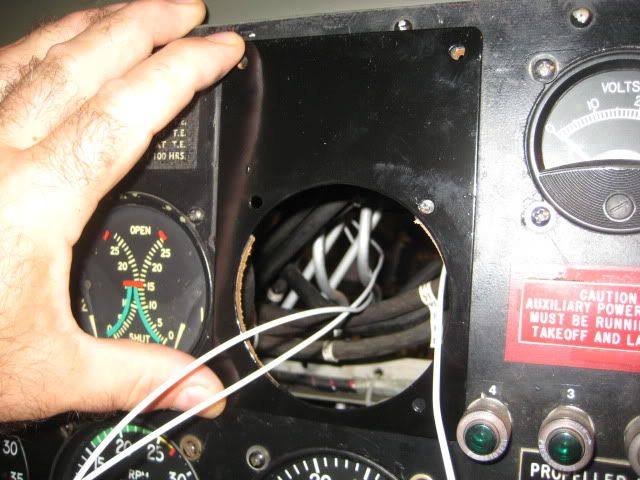
This hole was where a deicing gauge was installed that we do not use. It also had a cover plate above the gauge to cover that hole that look like a rat chewed it out?? The deicing gauge was 2-1/4" so I had to inlarge the hole for the 3" temp. gauge.
Image

Image

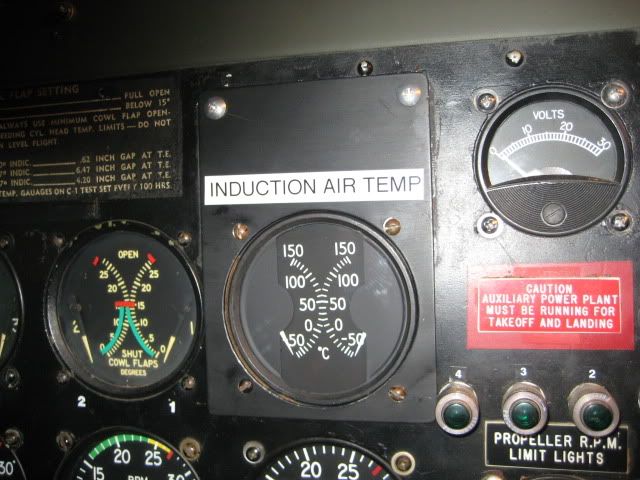
I made another cover plate to include the gauge.

Image

And here it is installed!

Image

While I'm doing other things, Jim and Rudy were working on getting the cowling ready. They took the cowl flaps off and got them cleaned up.

Image

Image

Image

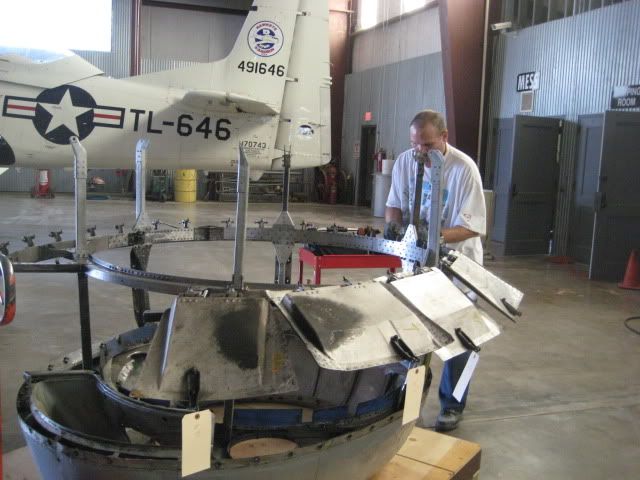
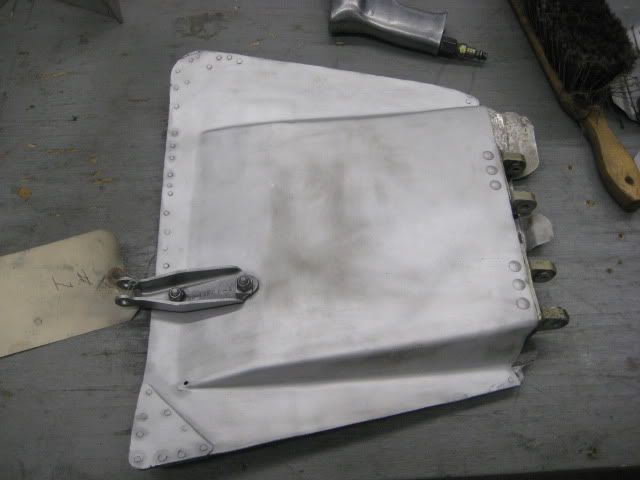
Rudy replaced all the zerk fittings and cleaned out all the old grease.
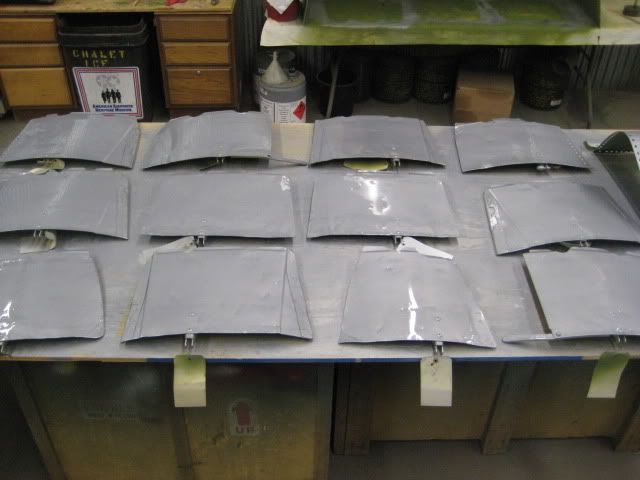
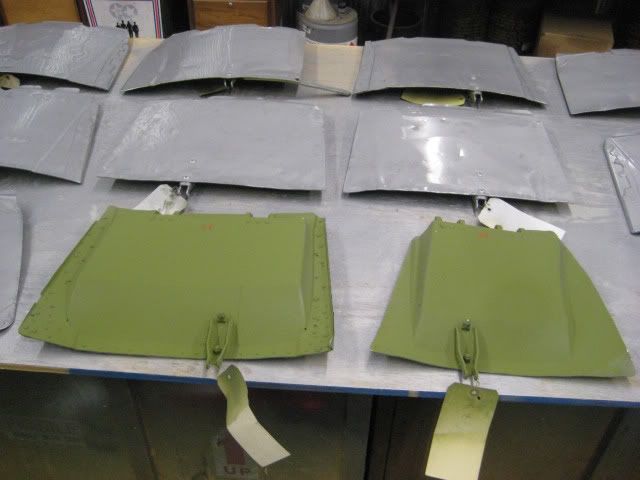
I got the cowl flaps painted and they are ready to put back on.

Image

Image

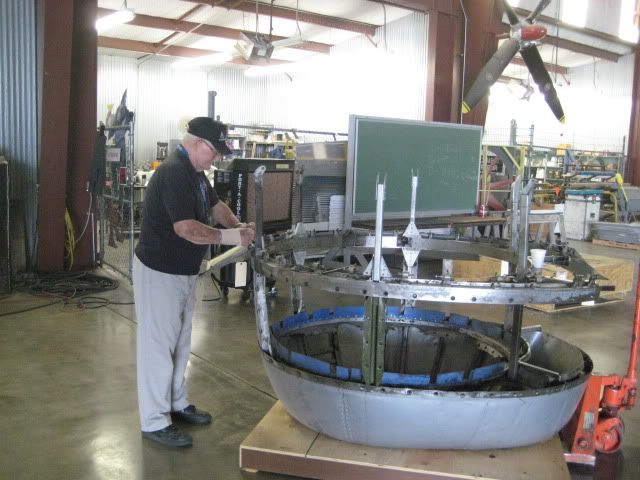
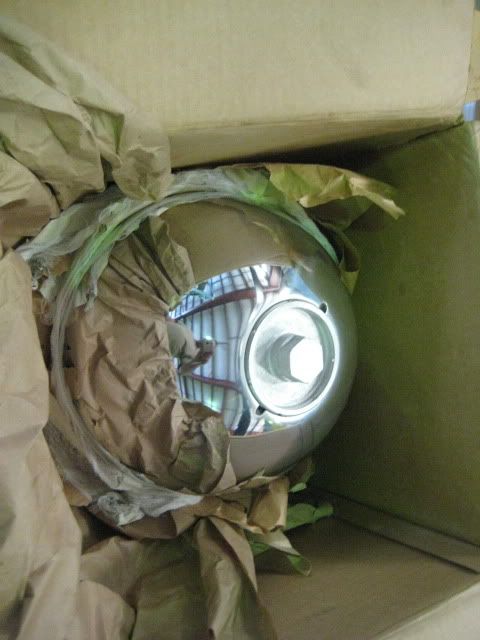
Next was preping the nose bowl and painting that.

Image

Finally as some of you more observant ones probably saw in the last picture, I got two of the Props back from San Antonio Propeller.

Image

Image

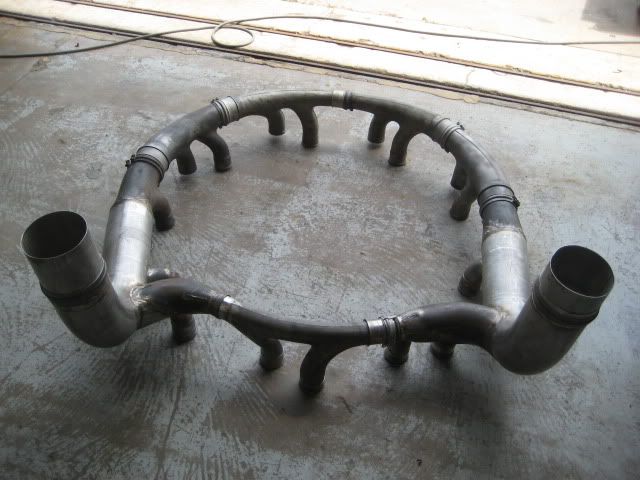
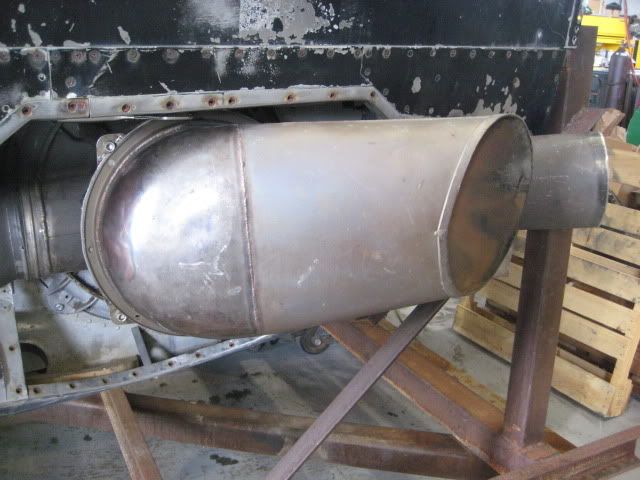
also if you were looking. the exhaust is here as well. Nelson's team did a great job figuring this one out.

Image

Image

Image

That's all till next time.

Dave

Sun Aug 02, 2009 1:27 pm

WOW!

Sun Aug 02, 2009 6:34 pm

Dave
Thanks for the update! As good as all the pieces look, I can't wait until we can't see things like the exhaust, and you have to get on a ladder to see the prop dome up close.

Enjoy your well-earned vacation!

Chris

Mon Aug 03, 2009 7:58 am

Here's the picture of the propeller!!


Image

Dave

Tue Aug 04, 2009 7:09 am

i was by ezell's a couple of weeks ago and saw nelson working on the exhaust, it sure was pretty. it's almost a shame to have to cover them up. great job to all working on Fifi. can't wait till she's ready!

Tue Aug 04, 2009 9:20 am

:shock: :shock: :shock: :shock: :shock:

Beautiful job gentlemen!!!!

Thanks for the photo updates as we 'wixers' are hungry for visual cues!!!!

Readin ain't gunnah kut it!

Thanks again guys! Great job and keep the faith!!! 8) :lol:

Looking Good!

Mon Aug 17, 2009 10:33 am

Dave & Crew, the Project is looking great, keep up the good work..
Mike

Sun Aug 23, 2009 12:56 am

That prop dome looks sweet! Much better polished up instead of black...awesome!

Thu Aug 27, 2009 9:14 pm

I appreciate the compliment! I think its awesome and I will be able to post some pics of it installed very soon. Much more going on that I haven't had time to post but I will soon. Stay tuned!

Dave
Post a reply